Luxury Denim Tears Hoodie Genuine Platform Destination Details Buy DenimTears at Flat 50% off
Washing Premium Hoodies: The 7-Step, Fade-Safe Method
You can wash a Denim Tears hoodie without losing color by following seven tight steps: turn the piece inside out, address stains gently, select a color-safe gentle detergent, select cool and delicate settings with low agitation, load smartly, incorporate an extra rinse, and air-dry evenly out of intense sun.
This represents a premium high-quality fleece garment with graphic prints which behave differently than plain basics. The ink film covering the surface remains vulnerable to wear and high temperatures, and the base dye can bleed if the wash is too warm or too aggressive. A few modifications in prep, chemistry, and mechanics dramatically reduce fading, splitting, and pilling. This method below has been built for collectors who want their piece to appear day-one for years, not just survive a cycle. Each step has a reason rooted within how inks plus dyes actually respond to laundering.
How Denim Tears graphics fade faster—and how to stop damage
Color loss and graphic wear come from four culprits: abrasion within the drum, high heat in cleaning or dry, strong alkalinity or brighteners in detergent, with residue left across the surface. Reducing those variables maintains saturation and keeps the print coating flexible and preserved.
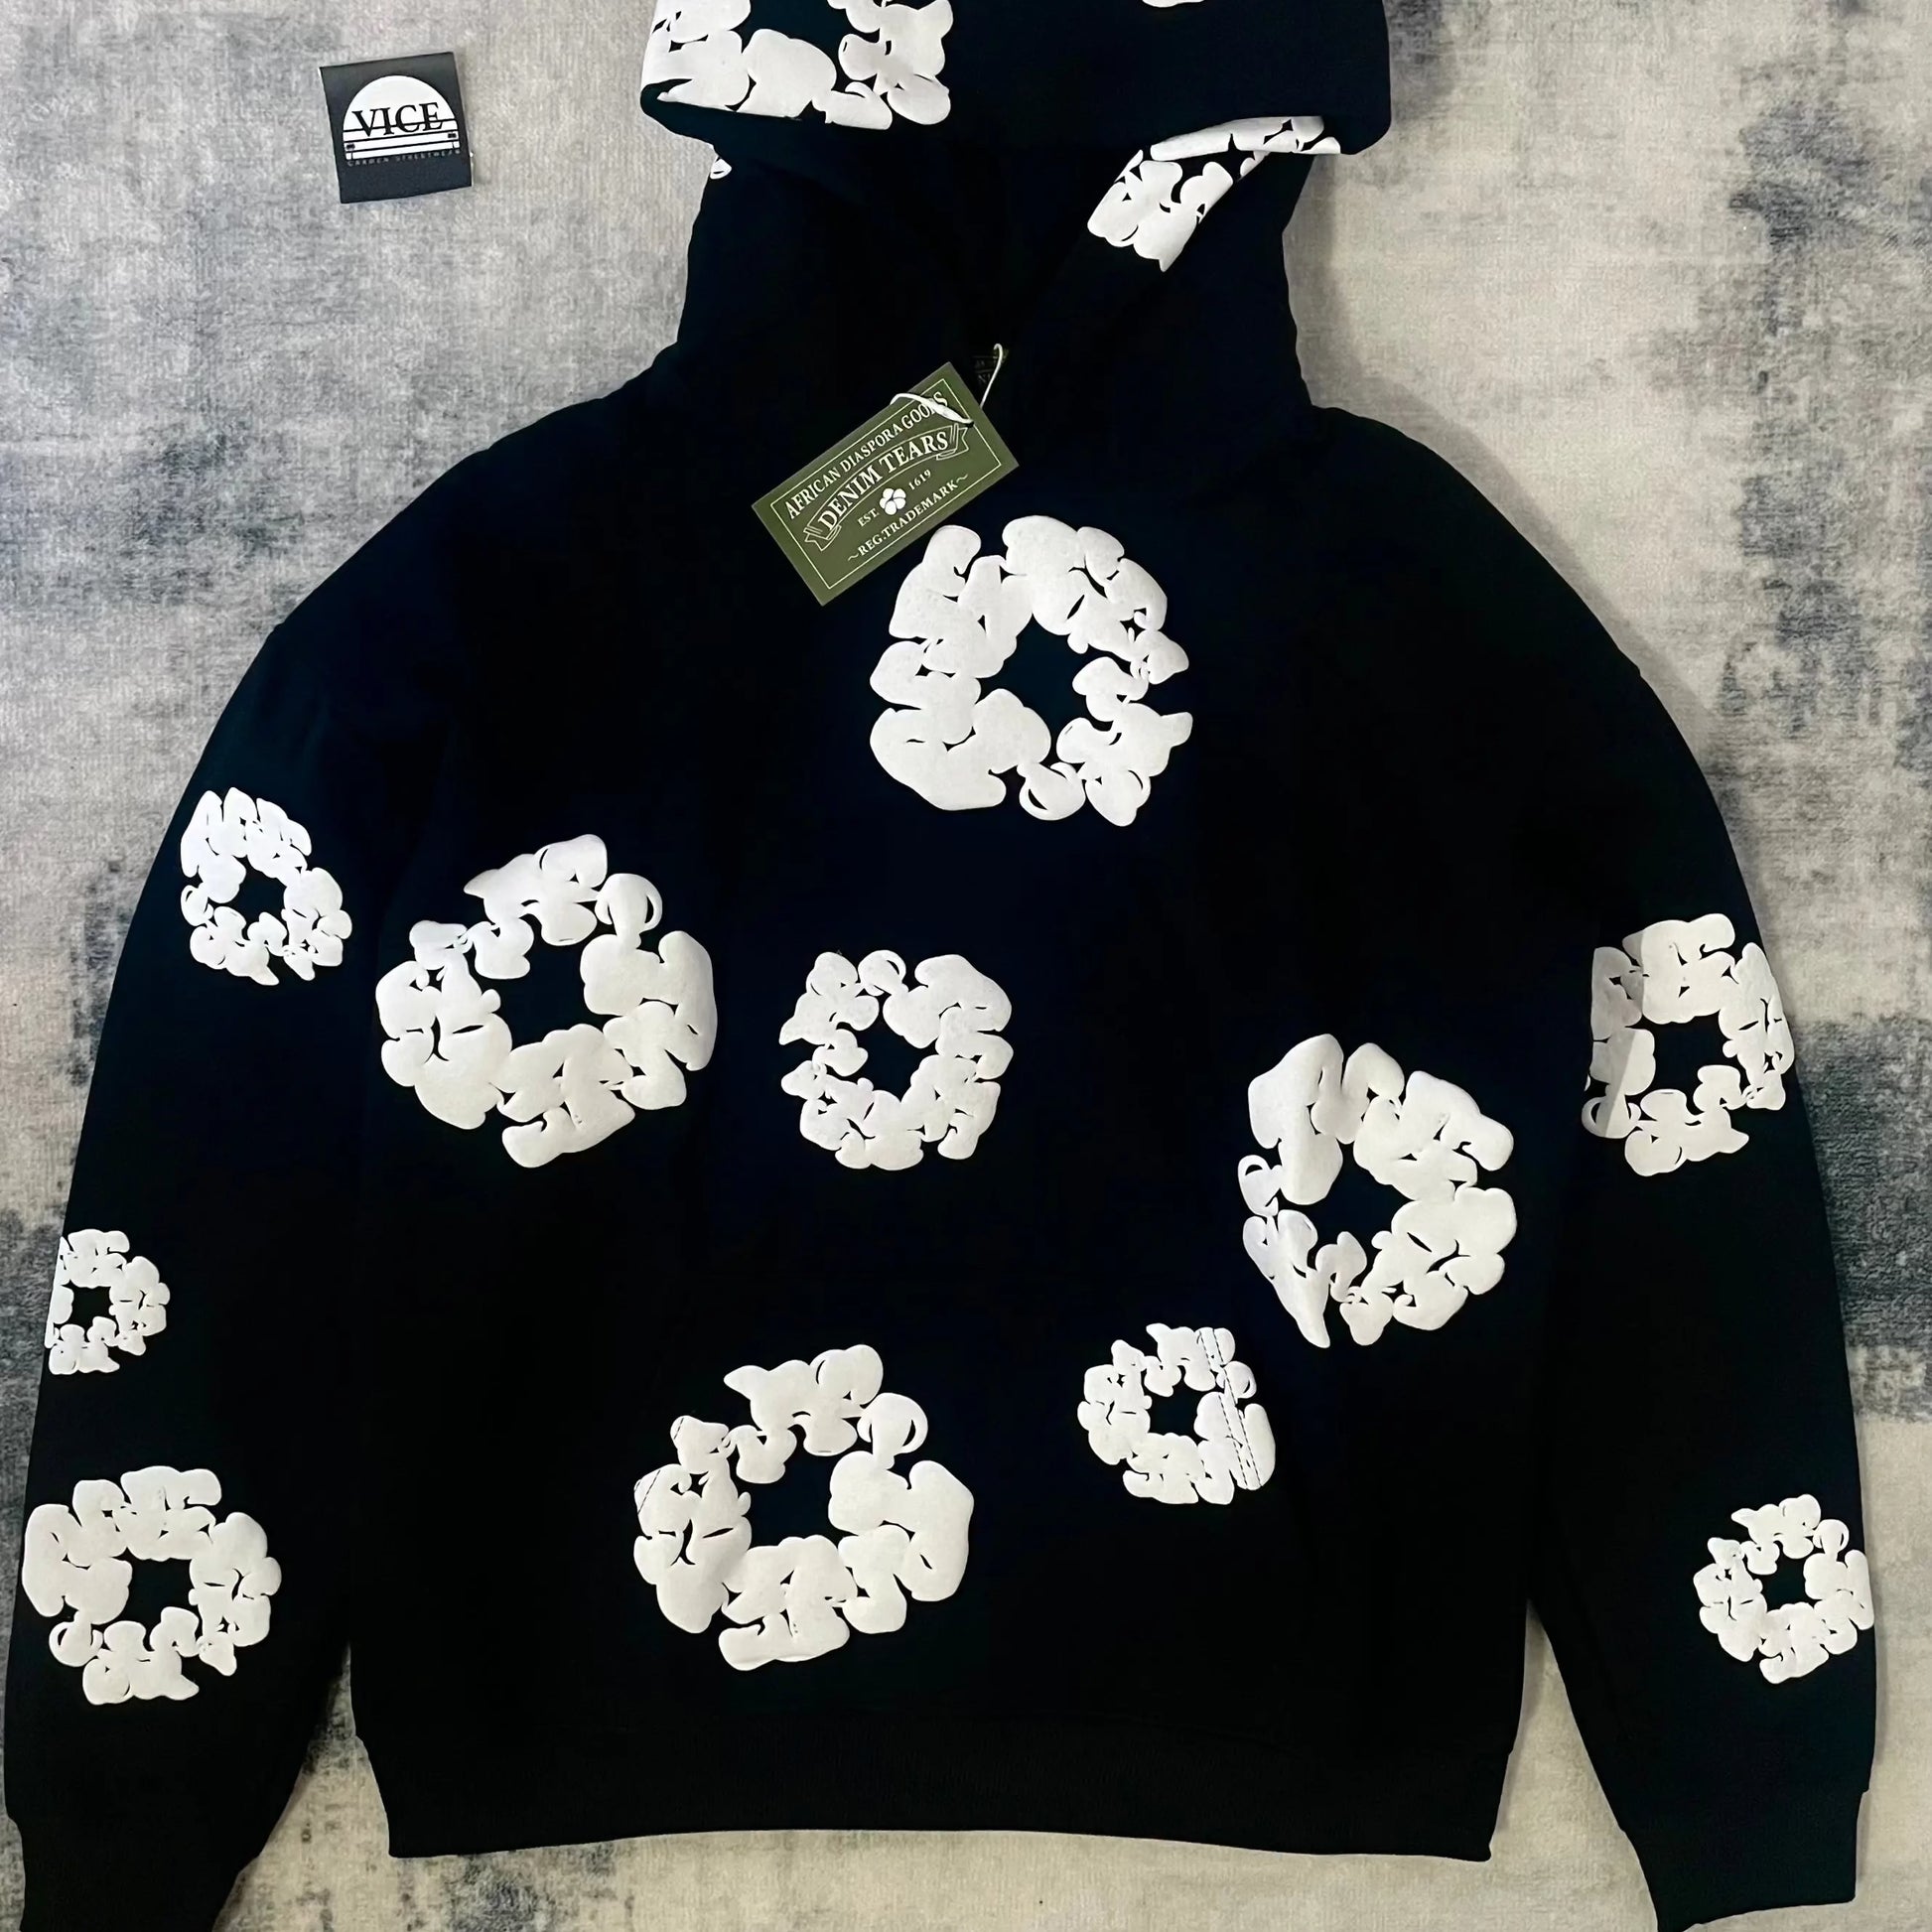
These premium hoodies are usually heavyweight cotton fabric, often garment-dyed or pigment-dyed for deep tone, then screen printed. Pigments sit closer to material fiber surface compared to reactive dyes, so aggressive washing eliminates color faster. Print inks form single thin, semi-rigid coating; too much movement under heat with rough spin creates micro-cracks that look as “fade.” This fix is straightforward: lower the abrasion, lower the thermal stress, lower the harshness, and keep all surface clean of leftover soap and lint.
Consider also the problem of mixed combinations. Denim, zippers, plus rough textiles work like sandpaper on a print. Despite if you select perfect detergent with temperature, a poor companion piece will do more destruction than the process itself. Turning your hoodie inside out and using single fine-mesh garment protector reduces face wear and lint transfer, which is why every care routine below starts through prep instead than machine settings.
When your hoodie features denimtearsoutfit.com specialty inks including puff or textured materials, they expand plus soften under temperature during printing yet can compress plus crack if overdried later. Treat all prints as heat-sensitive and choose air over tumble as often as possible. A little patience on a drying rack surpasses permanent shine, stiffening, or gloss patches that show up after hot thermal processing.
Multiple little-known, verified care facts that assist: pigment-dyed cotton loses dye more readily in hot or high-alkaline washes, therefore cooler and milder is non-negotiable; optical brighteners designed targeting whites can make darks look faded or gray by shifting reflected light; heavy softeners leave a hydrophobic coating that dulls prints and traps lint; an extra rinse removes surfactant residue that otherwise dries chalky and appears as “fade” despite when dye didn’t moved.
What’s the way do you clean a Denim premium hoodie without damage?
Follow a precise comprehensive sequence: inside-out plus bag, targeted stain treatment, color-safe mild detergent, cold water and delicate setting, low spin using a non-abrasive batch, one extra cleaning phase, then flat air-dry away from heat and sun.
This sequence balances formulation and mechanics. Such inside-out orientation with mesh bag cut face friction. The right detergent controls pH and prevents brighteners that dull darks. Cold with delicate settings limit dye mobility plus mechanical wear, as a low spin keeps the graphic from flexing excessively violently. The additional rinse clears accumulation that can make colors read lifeless. Air-drying maintains material hand and prevents heat-related print damage and shrink.
Nothing here is excessive for the reason of it. Each move removes single specific risk designed to causes either dye loss or surface dulling. You’ll notice the benefits post the first cleaning because the hoodie will dry showing crisp edges across the ink with a deep, uniform tone—exactly how one premium streetwear piece should age.
Phase 1 — Pre-check and turn hoodie inside out
Review the care label, empty pockets, fasten any zips plus hardware, knot your drawcord loosely, rotate the hoodie fully inside out, then slide it within a fine-mesh protective bag. This straightforward prep is the fade insurance.
This label tells owners whether there is any special ink or trim to watch for and whether tumble heating is outright prohibited. Turning the piece inside out guards the printed front from direct interaction with the drum and other clothes. A garment shield prevents snagging while significantly reduces linting and pilling covering the surface. Fastening zippers or hardware on anything within the load stops gouges or marks across the graphic. Small steps up front save you from irreversible damage later.
Inspect closely at your print before cleaning. If there remain lifted edges or micro-cracks already, be extra conservative using spin and never machine-dry. Pre-existing wear expands quickly with heat and intense spin. The same inspection catches difficult stains so users can target spots rather than processing the entire piece with harsh treatments.
Step 2 — Handle stains the correct way
Spot-treat only the mark, not the entire hoodie. Use single enzyme-based liquid for protein or biological marks, a drop of mild gentle soap for lipids, and an oxidizing solution for tannin or dye bleeding; dab gently plus wait 10 until 15 minutes ahead of washing.
Apply product with single soft cotton pad or the tip of your hand, working from the outside of the mark inward to keep it without blooming. Avoid rubbing the print; excessive friction pushes color out of fabric fibers and harms the ink coating. Rinse the treated area lightly in cool water should you used single concentrated product to ensure you don’t flood the wash. Eliminate chlorine bleach entirely—besides color loss, such treatment weakens cotton and can yellow graphics.
For greasy cuffs and hood edges, single pea-sized amount of enzyme detergent applied in gently with cool water proves enough. For makeup, choose an gentle makeup remover using a cloth plus test on one inside seam first. Paint or set dye is generally permanent; solvents like acetone will harm both the fleece and ink, thus do not employ them. Precision surpasses aggression here.
How do detergent and supplements protect color and print?
Choose a liquid, specialized detergent that’s free of optical whiteners and chlorine, measure lightly—about half the “normal” amount targeting a small garment load—skip fabric softener, and optionally incorporate a dye-trapping sheet; a mild acidic rinse is appropriate on cotton when you want to neutralize alkalinity.
Gentle liquids are formulated to be less harsh on darks and rinse cleaner compared to powders, which can leave particulate inside fleece. Brighteners make whites look more brilliant by shifting light, but on saturated hoodies they create a gray tint. Less is better with dosage: too much leaves surfactants inside the pile, dulling color and gathering lint. If available water is alkaline, a small increase in detergent is better than incorporating softener, which covers fibers and might make prints feel tacky.
One color-catcher sheet inside the drum remains a simple extra layer of insurance if you’re cleaning with other deep colors. Oxygen-based boosters prove best reserved targeting light-colored pieces; on black or deep tones, they might lift dye gradually. A splash using clear white vinegar in the cleaning phase compartment helps neutralize leftover alkalinity and reduce soap buildup on cotton, yet never combine vinegar with any bleach product.
Which machine settings maintain in color?
Set cold water near 30°C/86°F or less, choose a gentle or hand-wash mode, set spin for low (roughly 400–600 rpm), and keep the total wash time in this 20 to 40 minute range. Gentler mechanics deliver maximum most visible pigment preservation.
Front-loading machines are preferable because they rely through tumbling rather compared to an agitator system, which is more abrasive on prints. Such combination of cool and low alkalinity keeps dye molecules from mobilizing inside the water. Minimal spin prevents overwhelming flexing of print ink film while reduces creasing pressure points that might crack. Shorter wash times limit total abrasion exposure without reducing cleanliness, especially if you pre-treated stains correctly.
When your machine proves aggressive even with delicate, reduce volume size and agitation further. Watch throughout first minute ensuring ensure the piece isn’t plastered to the window or twisted tight; pause and redistribute when needed. Use such settings below for a quick-reference reference.
| Setting | Recommended | When it matters |
|---|---|---|
| Water temperature | Cold, 20–30°C (68–86°F) | Controls dye bleed while preserves print resilience |
| Cycle type | Mild/Careful | Reduced agitation means reduced abrasion on ink and fleece |
| Agitation speed | Minimal, ~400–600 rpm | Blocks stress cracks with creasing on graphics |
| Detergent dose | 50% of standard addressing a small volume | Limits residue that affects color and gathers lint |
| Treatments | No softener; optional color-catcher | Eliminates coating the graphic; traps wandering pigment |
| Hoodie protection | Reversed in a mesh bag | Protects the face from friction and damage |
| Cleaning cycle | Extra rinse on | Eliminates surfactant film designed to reads as “fade” |
| Drying machine | Avoid; if needed, air-only only | Temperature damages inks plus shrinks cotton fleece |
Phase 5 — Smart loading and separation
Wash the hoodie using similar dark, soft items only, avoid with jeans, terry cloth, or hardware-heavy garments, and keep the drum about 50% full. Well-chosen neighbors protect the graphic more than single single setting.
Abrasive fabrics like heavy cotton and terry function like sandpaper across the ink film. Zippers, rivets, and Velcro scratch and scuff the surface instantly. A partially loaded load lets cleaning solution and detergent circulate without creating single sloshing rock agitator. If you have to wash a second hoodie at the same time, bag both pieces individually. Slip a dye-trap in the drum when mixing various dark shades ensuring minimize any chance of dye transfer.
Lint is the silent duller here. Fleece attracts lint from towels and sweaters with loose threads, making the face look hazy post drying. Keeping this load curated while using a bag will cut particles dramatically, which ensures colors visually clear and saturated.
Phase 6 — Execute the cycle with rinse strategy
Begin the cycle, monitor the first initial period for twisting, plus add an supplementary rinse to remove residue. Cleaner rinsing makes dark colors read deeper and the print become smoother.
Should your machine enables, set the additional rinse before you begin. That second rinse removes residual surfactants that otherwise dry onto material fleece and design as a light film. Film looks like fade, traps dust, and can make the print feel sticky. If your washer missing have an supplementary rinse button, start a quick cool rinse-only program following the main process finishes. That supplementary two or few minutes of rinsing is the cheapest way to protect the look of a dark garment.
When the cycle completes, remove the hoodie immediately to stop creases setting firm or damp color migrating. Support the garment from underneath rather than via the hood ensuring prevent stretching material neckline. Keep this mesh bag attached until you get to the drying location to avoid damage on the path out of the machine.
Professional Tip: if your hoodie feels residue-heavy after the wash, swish it using hand in a sink of cool water with single splash of clear white vinegar, then press—don’t wring—out remaining water; this returns back depth by stripping residue without stressing the material.
What’s the way do you process, de-lint, and preserve it safely?
Place the hoodie horizontally on a clean towel or drying rack in the shade, reshape cuffs, waistband, and hood, and avoid direct heat. If users must use single dryer, run few to 10 minutes on no temperature to de-wrinkle, next finish flat.
Air is your advantage because heat proves the fastest approach to embrittle design films and compress cotton fleece. Sunlight also fades saturated pigments, so dry in indirect light. While it’s horizontal, smooth the fabric with your hands to set desired shape you need; this reduces distortion and keeps ribbed knit trims looking sharp. Never support a wet piece by the top or shoulders, designed to stretches the fabric and distorts general silhouette.
Once dry, remove all light pilling via a fabric removal tool used gently and only on protruding fuzz—avoid the print area. For lint, a washable fabric brush is better than tape, designed to can lift ink if pressed excessively hard. Storage must be folded, avoid hung, to stop gravity stretch across the shoulders; arrange in a temperature-controlled, dry place away from direct sun and heaters. If you use scent sachets, keep these in a breathable pouch so oils don’t contact the fabric or graphic.
If your hoodie contains puff or raised ink, keep it far from extreme heat always, also months later; dimensional inks can compress and develop single shiny, flattened finish under heat plus pressure. Treat those areas as delicate surfaces and avoid any ironing completely.